Building a Camper Van Kitchen: Framing, Layout, and Design Ideas
Products listed on this blog contain affiliate links. Learn more here.
Building Our Van Kitchen: Part 1 of a Two-Part Series
If you're planning a camper van conversion, the kitchen is one of the most exciting yet challenging areas to design and build. In this post, we’ll dive into the initial steps of creating the kitchen for our van build, including material selection, layout planning, and constructing the frame. This is part one of a two-part series, so stay tuned for the finishing touches!
Step 1: Material Selection
We chose 1/2-inch birch plywood for the kitchen framing. It's durable, resistant to moisture, and ties in with the rest of our van’s interior, where we've already used this material for the walls and framing. Birch plywood offers the strength we need without adding unnecessary weight—a crucial factor in any van build.
To secure the wood together, we cut 3-inch wide strips of 1/2-inch birch plywood and used 1-inch Kreg Pocket Screws.
Step 2: Planning the Layout
The layout is key to creating a functional kitchen space in a camper van. We opted not to install a permanent cooktop, instead storing it in a drawer for flexibility. Here's how we organized our kitchen:


Fridge: Positioned near the sliding door with a drawer beneath it for additional storage (we are using a Bodega 65 L 12 V Fridge).
Sink: Centrally located for easy access while leaving room for counter space (we are using an 18x18 Sink)
Drawers: Installed for storing cookware, utensils, and supplies.
Dimensions
We planned a 56-inch-wide counter, though we’re considering extending it to 58 inches to maintain a balance between workspace and aisle clearance when entering the van. You typically want to leave a minimum of 30 inches for the doorway.
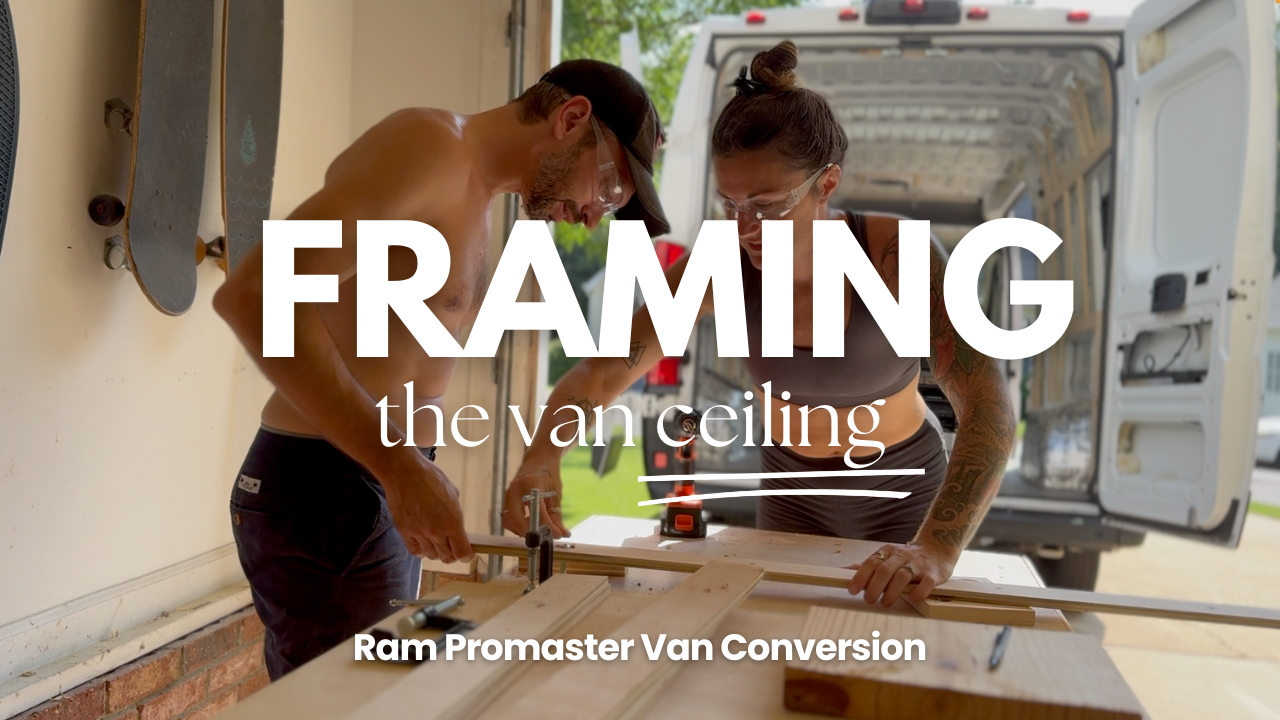
Step 3: Constructing the Frame
To cut our plywood, we used a Kreg Accu-cut which is a much more affordable solution to a table saw.
We started building the frame with careful measurements and the help of Kreg pocket holes to ensure a sturdy, professional-quality structure. Here's how we reinforced the frame:
Added extra support beams in critical areas to handle the weight of appliances and countertops.
Ensured the frame is ready to be secured to the van floor.
Step 4: Testing Paint Colors
We experimented with several paint colors to match the overall aesthetic of our van. After some feedback, we’re leaning toward a soft green, which will give the space a cozy and vibrant look.

Challenges and Next Steps
While we’ve made significant progress, there’s still more to do. In part two, we’ll:
Install drawers and sliders.
Secure the frame to the van.
Add the countertop, sink, and other finishing touches.
Building a van kitchen is a rewarding process that combines functionality with creativity. It’s incredible to see a flat sheet of plywood transform into a beautiful, custom-built kitchen!
Stay Tuned for Part 2
We’ll continue sharing our van build journey, so subscribe to our channel and follow us for updates. Next, we’ll tackle the finer details to bring this kitchen to life.
Thank you for supporting our van life dream! Your encouragement keeps us motivated to share more of this adventure.
Join Us on Our Van Build Journey!
Thank you so much for following along on our van build journey! Building this community is truly rewarding, and we’d love to hear from you. Please subscribe to my YouTube channel, and feel free to leave any questions or suggestions in the comments. Whether you want more van build tutorials, insights into our van life prep, or a Q&A, we’re excited to create content that helps you on your journey too. Until next time!