How to Build DIY Shaker Cabinet Doors for a Van Conversion (Step-by-Step Guide)
Products listed on this blog contain affiliate links. Learn more here.
If you're working on a van conversion and need storage solutions, building custom upper cabinets is a game-changer. In this step-by-step guide, we’ll show you how to install cabinet doors, side panels, under-cabinet lighting covers, and more.
Tools & Materials Needed:
Birch plywood (½ inch and ¼ inch)
Jigsaw
Circular saw
Drill
Sandpaper
Primer and paint
Rattan
Kreg Pocket Hole Jig
1-inch Kreg Pocket Hole Screws
Hinge Hole Jig
1-1/4 inch overlay slow-close hinges
Brad Nail Gun
5/8 inch brad nails
Step 1: Cutting and Installing Side Panels
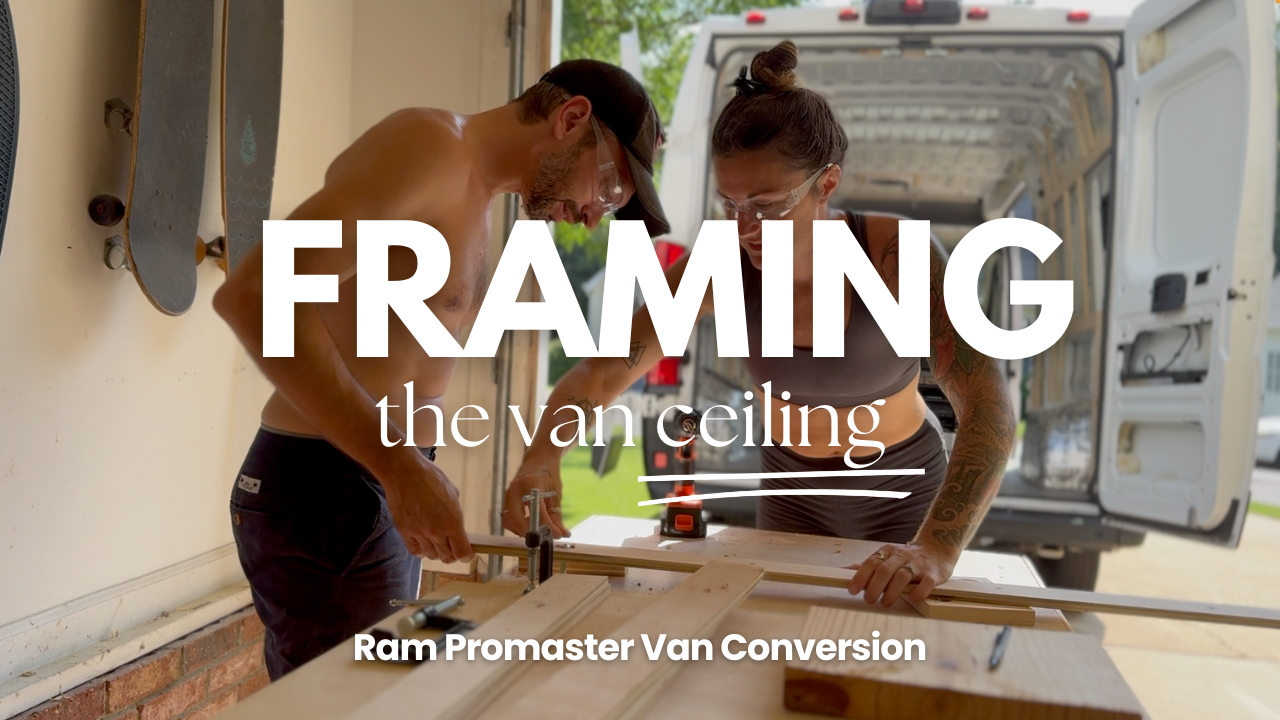
We’ve already built the framing of our upper cabinets so the next step is creating side panel templates that will close out the cabinets. A simple trick is using cardboard or paper bags to help create the curves of the van ceiling. A helpful tip is to cut them slightly larger than needed along the outter edges—this allows for fine-tuning later. We used birch plywood, opting for ½-inch on the kitchen side to support mini shelves, and ¼-inch for the rest.
Once your templates are cut, sand and prime them before painting.
To secure them, we used Gorilla Wood Glue and 5/8-inch brad nails. For the 1/2-inch birch plywood, we used additional 1-1/2 inch screws because I wanted to ensure that once we add small shelves that it would stay in place.
Then I cleaned them up with some wood filler, sanded, and touched up the paint.
Step 2: Installing Covers for Under-Cabinet Lighting
To conceal under-cabinet lighting, we added removable covers made from 1/4-inch birch. These are held in place with small wood supports made from left over scraps of wood, allowing easy access to the wiring. This step keeps everything looking clean while ensuring functionality.
Step 3: Measuring and Cutting Cabinet Faces
To avoid extra wood purchases, we repurposed ¼-inch birch plywood for the cabinet faces. We measured each door at 13.5 inches high, leaving a slight gap at the top for hinge flexibility.
Step 4: Creating Shaker-Style Cabinet Doors
For a modern look, we built shaker-style doors by cutting 3-inch-wide strips of ½-inch birch plywood and assembling them using a Kreg pocket hole jig. Instead of a solid center, we used decorative cane webbing (also known as Rattan) to give the cabinets an open, airy feel.
We then attached our 1/4-inch bases, rattan, and the front faces with wood glue and 5/8-inch brad nails. Pro tip–use the brad nail gun on solid ground. We did it on the concrete floors of our garage. That way there was no chance for the brad nails to go straight through to the other side.
Final Thoughts
Building DIY upper cabinets for a van conversion takes planning and patience, but the result is well worth it. By following these steps, you'll create beautiful, functional storage that maximizes space while maintaining a clean, modern look.
Looking for more van build tutorials? Subscribe to my YouTube channel for weekly updates!